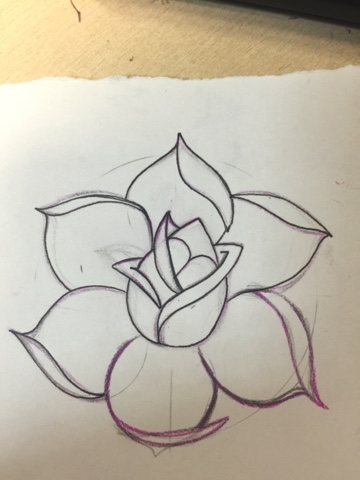
Now, I think it might be worth mentioning, that whilst this is a first attempt, it was done as a doodle in the quiet periods at work, I didn't have my normal supplies on me, but I wanted to try to work it out anyway.
Below are the tools I had to work with!
As you can see, the red pencil is almost non-existent, so as you can imagine the red colouring is nowhere near the standard is like it to be, but overall I'm happy with what it looks like, and it gives me some confidence to draw a larger one in my sketchbook.
The paper I used was scrap at work, so I'm assuming it's just standard printer paper.
The pencils are a mix that I just happened to have on me, the only thing that I had on me that I use normally was the PITT Faber-Castell XS pen.
The following pictures follow the tutorial in the previous post, and are used to show progress and to prove its not traced! Enjoy!
It might also be worth pointing out that I didn't have my compass on me, so to get my 'perfect' circles I used a plastic cup for the larger one, and a glue stick lid for the smaller ones, for the straight lines I used my work ID card. It definitely helped to have accurate circles instead of free handing them; I'm hoping in the future to do a study in my sketchbook of different media to colour the rose. I'm thinking of using things such as alcohol markers, watercolours, Faber-Castell pencils etc.
Below I've included an image of the cup and glue stick, just to show you all!
(For data protection reasons I can't show you my work ID card, but it's the same thickness as a credit card, and the same size also.).


No comments:
Post a Comment